Amazon Affiliate Success Part 2 Your Niche Website
Amazon Affiliate Success Part 2: Your Niche Website
Amazon Affiliate Success Part 2: Your Niche Website

Having a significantly functional and cool looking website is a must when it comes to any online niche affiliate business, and it is especially true for Amazon affiliates because having a nice, clean online presence is a requirement to be a part of the Amazon Associates program.
And despite what you may think, having a functional, cool looking affiliate website doesn’t have to be difficult or expensive, at least not at the beginning. When you are just staring out you may not have a lot of money to spend on fancy websites, so you will ideally want to start with a cheap alternative that will allow you to focus on turning a profit while you grow your niche website without you having to drain your budget from day one.
This makes smart business sense as it will give you plenty of room to save up money to invest in the future of your affiliate website as your business grows, which can take you from one to five months, depending on how much time and work you are able to put in to promoting your new niche site.
OK, now you understand that you DO need a niche website as the center of your niche affiliate marketing business, there are two basic stages involved in creating the ultimate Amazon Affiliate website on a shoestring budget.
The first stage is to simply create your Amazon Affiliate website without worrying about getting every bell and whistle. You need to simply have a website where you can insert your niche content and your affiliate links.
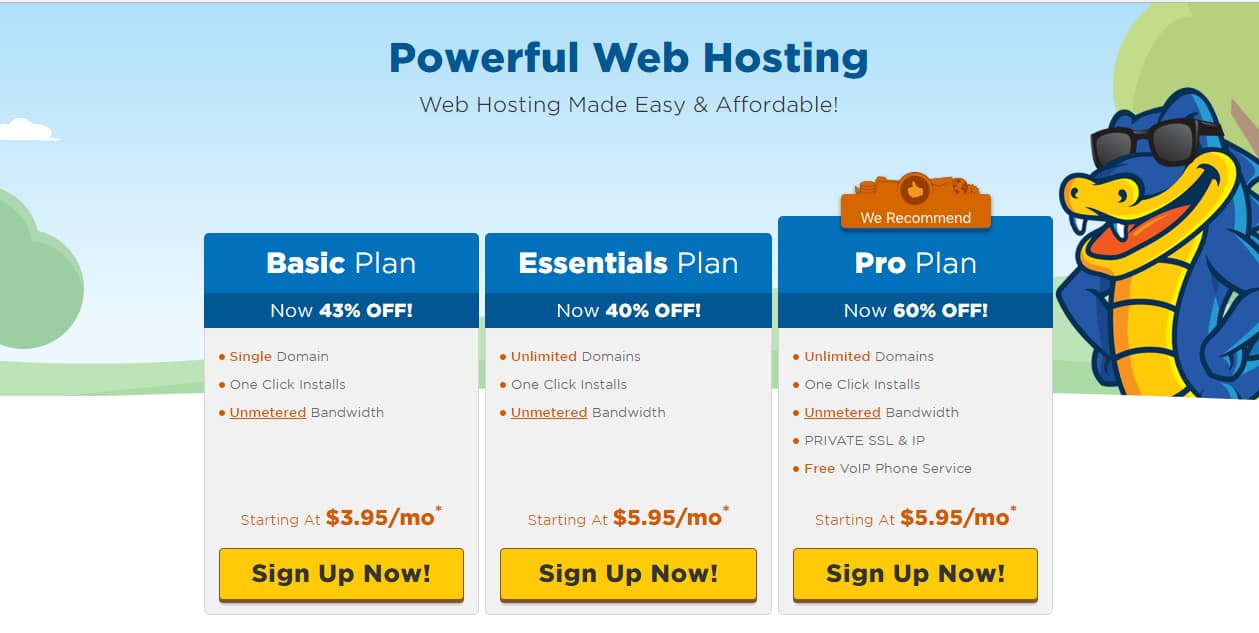
This first stage requires you to invest in two elements: hosting and domain. The cheapest type of web hosting is shared hosting. We recommend you to buy a shared hosting plan that you can pay on a monthly basis to a hosting service provider such as HostGator (warr.us/hostgator). Shared hosting plans can go as cheap as $4 a month, and they will work well enough in the beginning.
I will also give you another hosting provider that you can look at if for some reason you don’t want to use Hostgator. I have used both of these companies with no issues so the preference is up to you. The other hosting company I use is Bluehost (warr.us/bluehost) so pick your host and move on to the next decision 🙂
You will also have to buy a domain name for your website. Your domain name is simply your website address and you can also buy your domain name from HostGator, but I would suggest you use another company. This makes sound business sense as you don’t necessarily want to keep all your eggs in the same basket, so I always recommend buying your hosting and domain names from separate companies. I tend to use Namecheap (warr.us/namecheap) for all my domain names as they are cheap and extremely reliable. Now, acquiring a domain name looks as simple as coming up with a name and selecting the cheapest domain extension available, but there are some rules to follow.

First, don’t be tempted to use “exact match” domains for your domain name. Exact match domains are domain names that are made up from a combination of the exact niche keywords that you will target on your website, such as selecting the “cheapelectronicreviews.com” as your domain name.
It doesn’t only look lazy on your part, but it won’t help you to reach a top placement on search engine results. Lots of marketers use exact match domains for that reason, but the truth is that Google and other search engines caught on to that trend a few years ago and updated their search engine algorithms to ignore exact match domains for SEO.
So the best approach is to come up with a brandable name that isn’t an exact match of your target keywords. After you make up your mind about your domain name, you will have to select a domain name extension.
Selecting the .com extension for your domain name is the way to go hands down, but it can happen that your domain name is not available as a .com. In that case, select the .net extension. If it isn’t available as either extension, we recommend you to come up with a variation of your domain name until you find it available as either .com or .net.
That is because those two top level extensions are the most recognizable ones, and because newer extensions such as .club don’t look attractive to any audience. Many websites get passed by as novelty websites when they sport such domain extensions, so stay away from them.
Now, once your website starts growing and getting more and more traffic, you will have to start making some changes to it. This second stage of the process will require you to invest in a hosting plan that can make your affiliate website faster, to invest in a premium theme for your website and to invest in an SSL certificate.
Now, most hosting service vendors will allow you to do such upgrades easily, and our recommendations are as follows:
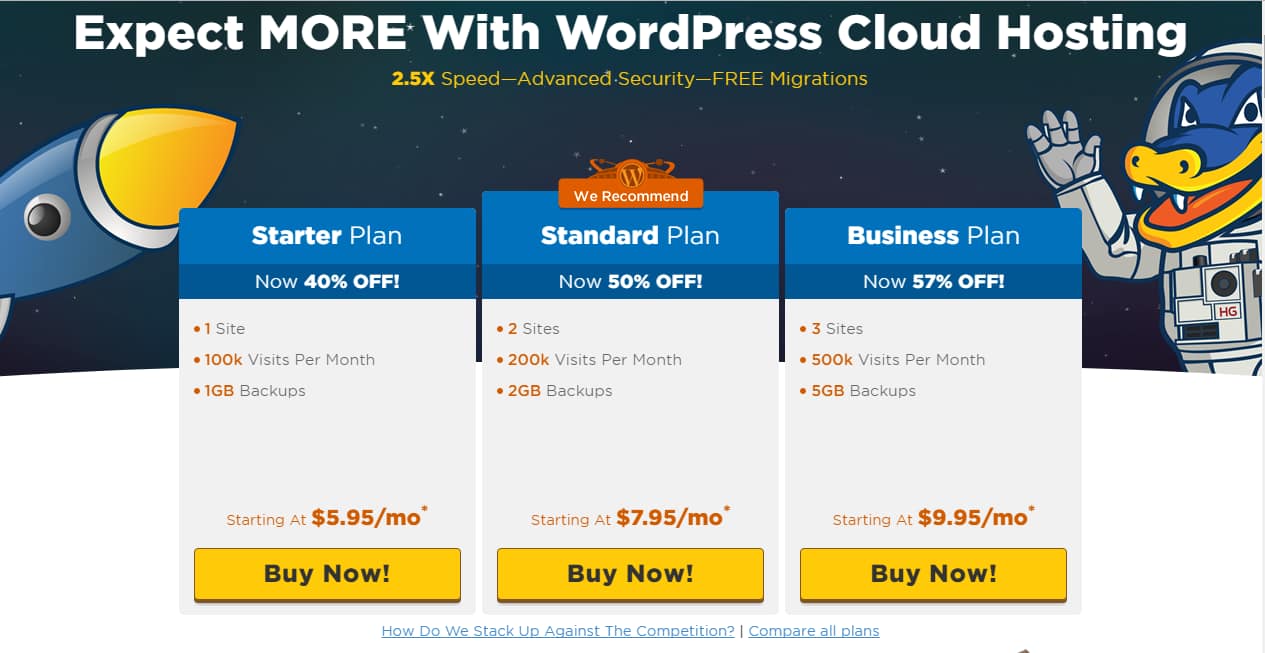
Upgrade your shared hosting plan to a dedicated hosting plan. Ideally, you should upgrade to a WordPress dedicated hosting plan, as WordPress is the best content management system available for affiliates.
Buy a nice looking theme for your affiliate such as “Kingdom by Woocommerce” WordPress theme for Amazon Affiliates (warr.us/kingdom).
Buying an SSL certificate is recommended, but not mandatory. This will add an extra layer of security for your website, and it looks good on the address bar!
We recommend you to also use WordPress plugins to supercharge your Amazon Affiliate efforts. So far the best one available is the “EasyAzon” plugin, which will allow you to search for Amazon products to post on your website right from your website’s editor and to redirect region specific visitors to their respective international Amazon marketplaces on autopilot.
Fine Tuning Your Niche Keywords

Using the proper set of keywords is crucial for any kind of affiliate business because, unlike ecommerce, the idea behind an affiliate website is for it to be found through search engine queries and results in order to increase its search engine ranking.
Keywords play a huge role in increasing your search ranks alongside quality content and loading speeds, but more importantly, they get your amazon affiliate site to rank higher for popular keywords that are related to your site’s niche and the topics discussed in there.

Ok, so you already know that most of the relevant keywords on your site are going to be product related, and to that you have to add purchase based keywords as well. From now on, think of your target keywords as a combination of the two. An example of this combination could be “best cheap refrigerators”, where “best cheap” is the purchase based keyword and “refrigerator” is the product based keyword.
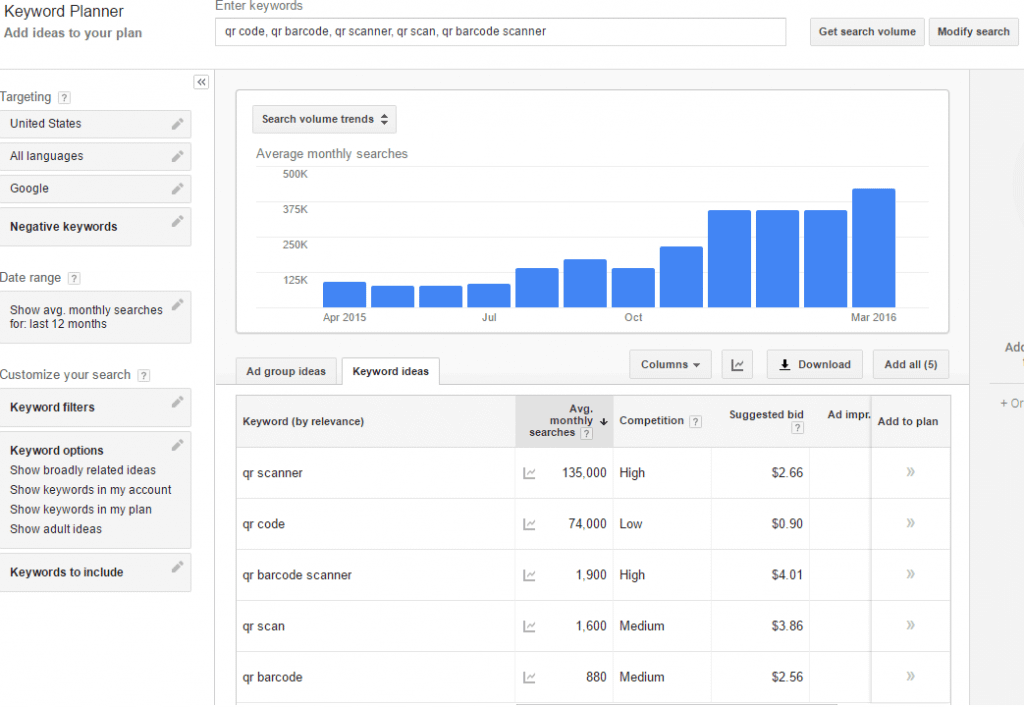
Now you will need to use a keyword research tool such as Google’s own “Keyword planner”, which will allow you to enter your target keywords and determine their search volume and data including their average monthly search volumes, their rank, and their competition.
Once you determine which ones are your target keywords, you will have to do some research around them to optimize your chances to outrank other sites using them. The first step is to use those keywords on Google.
Now, instead of focusing on results from the first page because you already know that the keywords used on sites hitting the first page of results include the ones that you just used, you will need to check sites targeting those same keywords that are on the second, third and fourth page pages of results.
Why would you do this? Because you can then look for other long tail keywords on those sites that are related to your target keyword and use the keyword planner to determine their search volume and data. If some of those long tail keywords have high search volumes, from 500 and upwards, you can use them on your content in order to rank higher.
The real science behind this little known strategy is that you can leverage the search volumes of these keywords by creating better content around them, which will undoubtedly redirect the traffic from those low ranking websites to your website, vastly increasing your organic outreach and your rank in a couple weeks or less!
OK, that’s it for part 2. In the final part of this mini-series we will look at creating the content for your website that will encourage people to buy through your link, and a quick way to keep this content fresh for your visitors. See you next time 🙂