
Get Your Free Blogging Fundamentals Report...
Just enter your details in the form below and we'll send you the free bonus resource that goes with this article.
Just enter your name and email below to get instant access!


Since you’re someone who creates a lot of content, that means you also likely spend a fair amount of time brainstorming (or at least you should be doing this).
EXAMPLE: You need to brainstorm topic ideas. You need to brainstorm unique angles/approaches for your content. You need to brainstorm things like how to turn a step-by-step process into your own unique formula. And so on.
With that in mind, here’s a brainstorming checklist you can use to help you do all the brainstorming you need to develop content ideas, angles, talking points and more.

Many people think of going old school and taking pen to paper to do their brainstorming. You’ll want to experiment to see what works best for you, as some methods will open up your individual creativity better than others.
Here are different methods to try:
NOTE: While you may be brainstorming on your own (which is fine), many people find it more effective to brainstorm in groups. Even having just one other person helps the two of you think up ideas that neither of you would have thought of on your own.
To that end, consider brainstorming with a knowledgeable friend. You can brainstorm in the same room using a whiteboard. Or, if you’re not local to each other, then you can use an online chat to brainstorm. Ideas include:
… or use any other platform or messenger service that you prefer.
NOTE: Trello (and similar platforms) are specifically designed for helping teams brainstorm.
Next step…

Before you begin brainstorming, you need to get very clear on what exactly it is that you’ll be brainstorming. If you’re not clear, you’ll likely end up thinking about all sorts of things… but not thinking or brainstorming deeply about any one of them.
To that end, start with a focused question. E.G., “What topics should I write about for my blog?”
Next…

The next part of good brainstorming is to get rid of all distractions and potential interruptions. For example:
TIP: If you’re brainstorming using a device, and you’re prone to distraction, then you might use an app like GetColdTurkey.com. This app blocks your access to certain sites you find distracting, such as social media.
For example, walk the dog, feed the kids, feed yourself, get yourself a beverage and so on. You don’t want to get interrupted or distracted because you didn’t handle a task beforehand.
NOTE: If you live in a household where there’s a lot of noise and distraction, then you may want to leave the house in order to do your brainstorming. You can go to:
And similar places.
You may find that going to different locations helps unlock your creativity.
For example, maybe you find yourself distracted at a coffee shop because you’re too busy people-watching. But perhaps an outdoor setting – such as a secluded, quiet park – keeps you focused and really unlocks your creativity.
Next…

Now that all those preliminary steps are out of the way, you can start brainstorming. Keep in mind that you’re just generating ideas at this point, and in no way should you be judging the ideas while brainstorming.
Write everything down that comes to mind – later you can judge the ideas to see if they’re good or viable.
Let’s work through an example…
For the purpose of this checklist, let’s suppose you’re brainstorming topic ideas in your niche. You can start by asking a generic question such as, “What topics should I write about?” Then write down every answer that comes to mind.
You can then ask yourself a series of more targeted questions to help you uncover even more ideas. For example:
Be sure to set aside individual brainstorming time for each targeted question you ask.
NOTE: As you can see, a brainstorming session can get quite lengthy, so be sure you schedule enough time to go through all the questions.
Now, let’s wrap this up…

If you’re creating a lot of content, then you’re going to need to do plenty of brainstorming. Be sure to keep this 4 step process handy so you can follow the steps and tips that you just learned for effective brainstorming.
By the way, if you really want to know more about the power of content marketing and blogging, you can take a look at the Rapid Blogging Blueprint training course or if you just want a few pointers for now you can grab the featured resource below for a free detailed blogging report; download, read it and take action 🙂

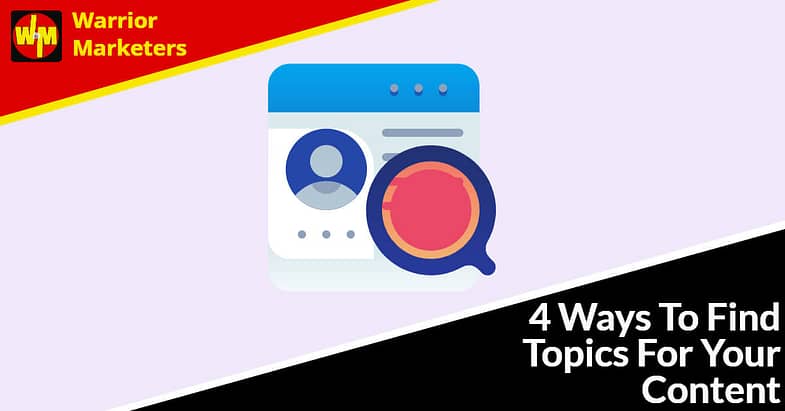

The kind of content you’re going to need will vary and include things like lead magnets, paid products, blog posts, guest posts, newsletter content, video content, social media content and so on. That means you will need to come up with a whole lot of topic ideas for all of this content.
The question is, how do you generate all these ideas? That’s what this checklist will help you do.
Let’s get started…

Your first step is to look at paid products – especially popular bestsellers – to help you generate topic ideas. One advantage of this method is that you get to multitask. Not only do you get topic ideas, but you also get to do your market research at the same time.
Here’s how to use paid products to generate ideas:
Important…
Remember, you’re generating IDEAS as you go through all these paid products. In no way will you copy anyone’s work. Rather, you’re just looking for topics to write about (using your own perspective, information and style of teaching).

The next step is to check free content to generate even more ideas.
Check out these ideas:
Next…

Still another way to uncover topic ideas is to use a keyword tool such as WordTracker.com (or your favorite tool).
Simply enter your niche keywords, and the tool will return dozens of results, each of which is a potential topic idea for you.

You can also generate topic ideas by checking your own content on your blog, social media and other platforms. This is an often overlooked place to find ideas for new or updated content but shouldn’t be overlooked because it can be a real opportunity to find fresh readers.
As always, pay particular attention to popular topics (such as ones that get a lot of comments on your blog).
Then ask yourself these questions:
For example, if you have a gear list for bloggers that you created five years ago, you can update the list with the latest tools.
If you follow the steps above, you’ll easily create a list of more topic ideas than you have time to write about. And that is a good position to be in!
If you really want to know more about the power of content marketing and blogging, you can take a look at the Rapid Blogging Blueprint training course or if you just want a few pointers for now you can grab the featured resource below for a free detailed blogging report; download, read it and take action 🙂
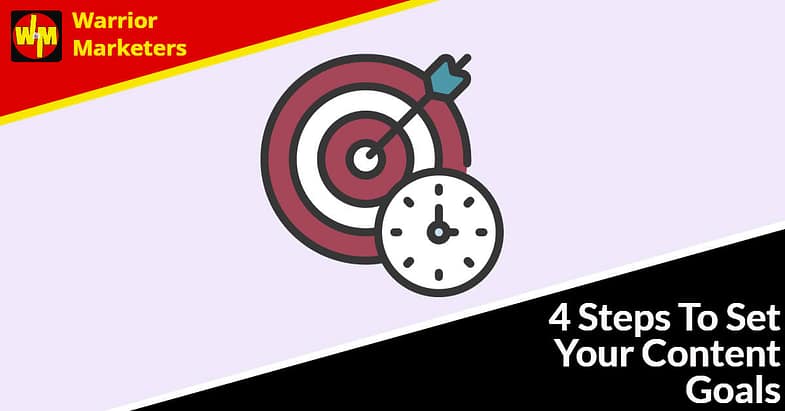

Before you sit down to write a single word on your next piece of content, you need to set a goal for the content.
That way, you can craft the content around achieving that goal.
How do you set these goals? That’s what you’re about to find out.
Let’s get started…

Before you pick a goal for an individual piece of content, you’ll want to first review your overall goals for your business and your content strategy. That way, you can ensure that your individual pieces of content do indeed support your overall goals.
Ask yourself these questions:
In other words, you want to determine who you will help and how you will help them.
For example, your overall business (and content) purpose might be to help single moms live balanced, empowered lives (while generating income for yourself).
The key here is that you need to be specific with your goals.
For example, what kind of help will your business provide for these single moms? How many sales do you want to make? How much time can you invest in this endeavor?
Pick measurable, specific and realistic goals for best results.
Then move on to the next step…

Now that you’ve got a good understanding of your overall goal (i.e., your business and content strategy), you need to decide the goal for the specific piece of content you’re about to create. For example, do you want this content to:
And similar. Select your goal, and then move on to the next step…
![]()
Now that you know your goal, your next step is to determine the best content format to achieve that goal. For example:
And similar.
Example #1: If your goal is to generate viral traffic on social media, you’d likely select a short piece of content such as a meme, tip or quick video.
Example #2: If your goal is to presell a product, then there are two approaches:
TIP: Be sure to pick a topic that also helps you achieve your goal. You may need to do some market research to be sure this is a topic that your audience really wants.
Pick the format and topic that best fit your goal, and then move on to the next step.

Now that you’ve decided on a goal, format and topic, you can start creating your content. Be sure that you structure your entire content around achieving your goal.
Example #1: If you’re looking to generate sales from your free content for a paid offer, then your free content should include the benefits of the paid offer.
Example #2: If you’re looking to build your expertise, then be sure your content is “fresh” – it should include a unique angle/approach to the topic, and/or unique tips or other information that people can’t find anywhere else.
NOTE: Please keep in mind that no matter what the goal is for your business, the goal for your audience is always to provide useful content that will help them solve their problems, reach their goals and/or enjoy their interests.
No matter what your goal is, you’ll want to end the content with a call to action (CTA).
Your CTA should have the following parts for best results:
A good reason to act now may take multiple forms:
For example, here is a CTA for joining a list:
Your next step is simple: click here to join the mailing list in order to get “Part 2” of this article. And do it now while you can still get this valuable information for free.
Let me share with you a few other templates you can swipe and use:
Purchase a Product:
If you liked these five tips, then you’re going to love getting your hands on the complete guide to [achieving some result]. Click here to get your copy – and be sure to use coupon code [insert coupon code] to save [$ amount]. But hurry and order now, because this offer expires [insert when it expires].
Join a Contest:
How would you like to win [describe two or three of the top prizes]? It’s easy to enter – just [describe how/what to do]. Click here to enter for your chance to win – and hurry, because this contest ends soon.
Share this Content:
If you loved this content, then you’re going to want to share the smiles with your friends. Click here to share it on Facebook, because you know your friends are going to love this as much as you did.
NOTE: A quick word about “urgency” … while there is no doubt that you can forcefully call people to action with manipulation and get higher conversions, please don’t do this. Rather than attempting to talk people into something they don’t really need by pushing their internal “fear of missing out” button, give them a compelling reason to make an intelligent decision to buy your product if it’s something they actually need.
Now, let’s wrap this up…
Some marketers push out content just to fill space. Don’t do that. Instead, create content that helps you achieve a goal. You can get started doing this with your very next piece of content by utilizing what you just learned inside this checklist.
If you really want to know more about the power of content marketing and blogging, you can take a look at the Rapid Blogging Blueprint training course or if you just want a few pointers for now you can grab the featured resource below for a free detailed blogging report; download, read it and take action 🙂
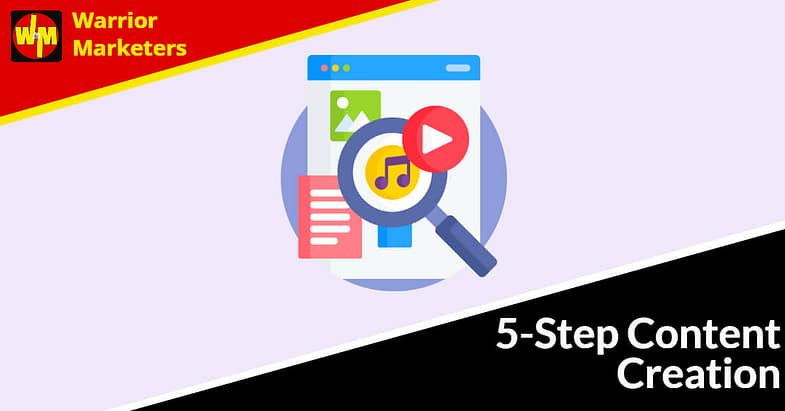

If you’re an infoproduct creator, online marketer, blogger, author or other online business owner, then you’re going to need to create ongoing content to serve your audience.
Whether you’re creating free content, paid content, short content, long content or anything in between, this 5-step ‘checklist’ will serve as an overview of the overall steps you will need to complete.
Of course, not just any content will do. It needs to be GOOD content – something useful, something engaging, and something your audience wants.
How do you create this sort of in-demand, helpful content? By following this simple five-step process:
Let’s walk through the steps…

In order to choose a topic, you need to do the following:
TIP: Go to marketplaces such as ClickBank.com, Amazon.com and JVZoo.com and search for your niche keywords – then check what topics are selling well.
Let me share with you a typical example…
You’re selling a dieting guide. You do your market research and find out that people are really interested in getting rid of belly fat. You then choose to create an article such as “10 Tips for Boosting Your Metabolism to Burn More Belly Fat.”
Next…

Your next step is to outline and organize the talking points for your content. How you do this depends on what content format you chose.
Here are three different outlines to use:
The key here is to…
Create as detailed of an outline as possible, which will make the writing easier.
You’ll want to first brainstorm information you’d like to include in your content and then research the topic to pick up extra talking points.
Once you’ve got a detailed outline in place, then move on to the next step…

Now you need to craft your content in a way that keeps people engaged and naturally leads to your call to action.
Let me give you a couple of examples of this last point….

In Step 1, you chose a goal for your content. Now you need to encourage people to take your desired action by inserting a call to action. This is where you tell people what to do next.
E.G., “If you liked these tips for burning belly fat, then you’re going to want to download this free set of fat-burning meal plans and recipes. This set makes it both easy and delicious to lose weight! Click here to claim this offer now…”

Your final step is to convey the benefits of your content by creating an appealing title that promises help for solving a problem, reaching a goal or enjoying an interest.
For example:
NOTE: Be sure to be truthful in your titles, offering “hope, not hype.”
These five basic steps will help you create just about any kind of content that you can use to generate traffic, build relationships, presell offers, and generate direct sales as you provide real help for your audience’s wants and needs.
If you really want to know more about the power of content marketing and blogging, you can take a look at the Rapid Blogging Blueprint training course or if you just want a few pointers for now you can grab the featured resource below for a free detailed blogging report; download, read it and take action 🙂


Have you been looking for a way to generate passive income without having to spend a lot of time building your products or creating a system that funnels in buyers every single day?
If so, then you’ll want to read every word of this special report because I’m about to reveal one of the easiest ways to make money with one of the biggest platforms online: Amazon.
I’m talking about creating low content books that sell like hotcakes!
Low content books include all the following:
And just about anything else that involves very little-to-no content.
Here’s the beauty of publishing low-content books:
The truth is, with low content publishing, you can get started in less than a couple hours. The learning curve is minimal and once you’ve cut your teeth on the process you can quickly expand your inventory by creating hundreds of additional journals and notebooks.
In fact, you can literally publish low content books in a matter of minutes.
Are you ready to create a profitable business selling low content books that are always in demand?
Let’s get started!
Click the “Look Inside” button so you can see what the interior templates look like. Then quickly scan the book description as well.
Here are a few to check out:
Title: My Bible Study Journal
URL: https://www.amazon.com/dp/1546564276
Estimated Monthly Revenue: $2,489.89
Title: The One-Minute Gratitude Journal
URL: https://www.amazon.com/dp/1523242701
Estimated Monthly Revenue: $4, 217.36
Title: Meal Planner: Track & Plan Your Meals
URL: https://www.amazon.com/dp/1974561798
Estimated Monthly Revenue: $2,828.10
Notice how simple those journals are? They feature an attractive cover and a basic interior. Low content books can be as detailed or as simple as you want them to be. In fact, you could create one lined-journal template and upload it again and again with different covers!
And in my examples above, every single one of these low content books are selling for thousands of dollars a month!
This is exactly what you’re going to be doing:
These packages come with private label rights so you can rebrand as your own and sell at your own price point.
Note: I don’t recommend publishing books that are greater than 150 pages as it makes it hard for your customers to write in once they get to the middle due to the type of binding. Amazon currently doesn’t offer spiral-bound books.
That’s the key: set a realistic goal and then set aside some time each day to work towards meeting it.
Consistency is key. Even if you only publish 1 low-content book a day, that’s 30 books by the end of your first month!
Next, let’s look at the best pricing strategy for your low content books.

There’s no one-size-fits-all when it comes to pricing your low content books.
The key is to analyze similar low-content markets in your niche, create a complete profile of your niche market which includes the average price point of books in that category, and then set yours accordingly.
Don’t be afraid to play around with different price points.
Want to know how to stand out, even in crowded markets?
Doing this one thing will help you establish a brand and make a connection with potential customers so you can win them over 😉
Offer them even more value for FREE!
These are simple, yet powerful ways you can add value to your products to immediately boost sales. I’m talking about:
Neither of those things costs you a dime, but it will help you stand out on the marketplace so you can build a loyal tribe of customers.
Now, you’re probably wondering how you can deliver these special bonuses to customers who purchase your products.
After all, Amazon doesn’t provide you with any customer data. This is where the importance of building a mailing list comes into play!
To start building your list, just sign up for a mailing list account here: Active Campaign
Active Campaign is a powerful mailing list provider that make it easy for you to create laser-targeted newsletters. Their rates are also very affordable, and you can upgrade your plan as you grow your list.
If you want to know more about Low Content Publishing as an online business, then please check out the featured resource below for a free detailed report; download, read it and take action 😊

